Installing Better than Adventure!: Difference between revisions
imported>SnakeBones (Removed opinions and rewrote the section on installation using multiMC, as it did not include instructions on installing a .jar file into an instance, and also did not detail the difference between an auto-updating instance and a non-auto-updating instance.) |
imported>SnakeBones (Removed opinions and rewrote the section on installation using multiMC, as it did not include instructions on installing a .jar file into an instance, and also did not detail the difference between an auto-updating instance and a non-auto-updating instance.) |
(No difference)
| |
Revision as of 04:50, 1 September 2023
There are myriad methods of installing Better Than Adventure! on your system. Provided on this page is any easy-to-follow non-exhaustive list.
Select Your Version
BTA is packaged in two release versions; Stable and Snapshot.

Stable Versions
Stable, and working, with generally accessible Multiplayer. Fewer known bugs than in Snapshots, with no Experimental Features.
Snapshots
Generally less stable, with no guarantee on perfect function. Multiplayer is generally disabled. If enabled, an individual server would have to be hosted. (See Setting up a Server). Contains Experimental Features.
Installation
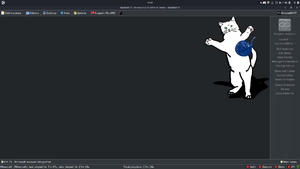
Installation Using MultiMC.
MultiMc is an open-source alternative launcher for Minecraft. It allows a user to have multiple, cleanly separated instances of Minecraft with independent mods and resources. MultiMC can be downloaded here.
To install any version, there are two options: a manually made instance or the auto-updating instance.

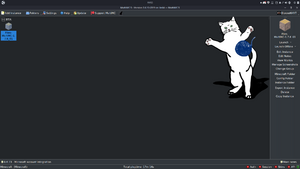
To install the auto-updating instance, download the BTA updater (a .zip file). Then, select "Add Instance" in MultiMC. Select "Import From Zip", then select the BTA updater .zip file.
For a manual instance that does not auto update, download the desired release (a .zip file or a .jar file).
For a .zip file, repeat the steps for the auto-updating instance with the non-auto-updating .zip.
For a .jar file, create a vanilla instance of Beta 1.7.3. Select "Edit Instance," navigate to "Loader Mods," select "Add," and import the previously downloaded .jar file.

Installing on BetaCraft Launcher
An alternative way of installing BTA is using the BetaCraft Launcher. The steps of installing are:
First, download the launcher at https://github.com/Moresteck/BetaCraft-Launcher-Java/releases (download the one that is named similarly to "launcher-1.09_16.exe")
Second, run the exe file
Third, click "Edit instance"
Forth, click "Mods repository"
Fifth, double click the "Better Than Adventure!" folder and load the version of your liking (preferably the latest one)
Sixth, click "Close" and then click "OK"
Everything should be set up for you to play after following steps.